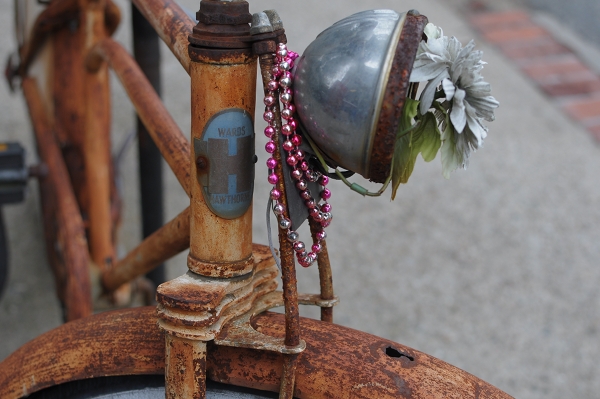
When getting a bicycle, whether new or vintage, it can be nice to personalise it - to make alterations here and there, so that the bike feels distinctly "ours". I am often asked for advice regarding various aspects of this process, from budget, to component choices, to colour coordination. And while these things are highly personal, there are several general points that I propose keeping in mind.
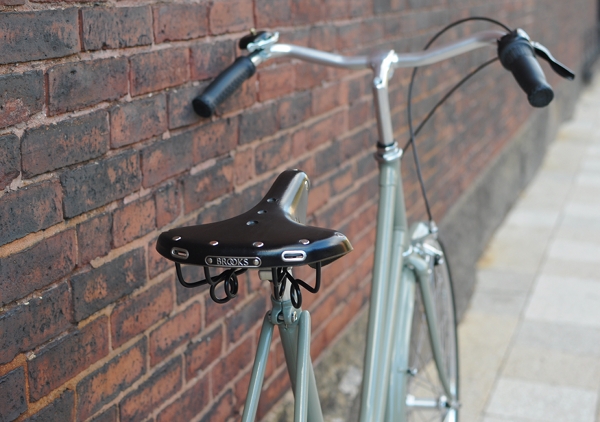
1. Address functionality and comfort before looks. Prior to buying colourful panniers and covering the bike with flower garlands, make sure the saddle position and handlebar height are properly adjusted for your proportions and postural preference. You may be surprised how much just that factor alone can change the "personality" of the bicycle. And this, in turn, will better inform subsequent aesthetic choices.
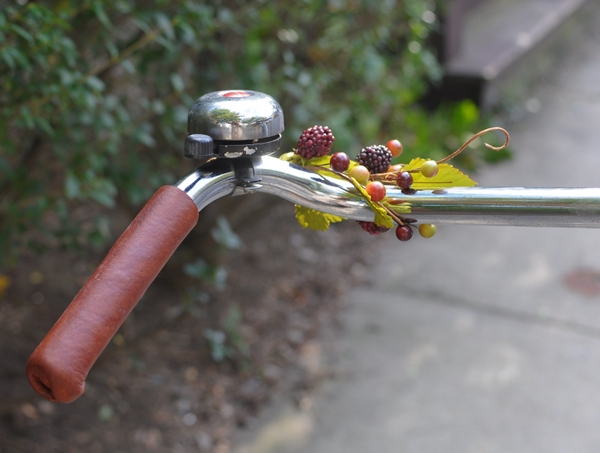
2. Personalising the looks of your bicycle need not involve buying lots of costly accessories. Some of the most delightful decorations are also the least expensive. Consider that things like ribbon,faux florals,twine, and stickers can cost mere pocket change. A simple bow in your favourite colour on the handlebars, or some flowers along the edge of your basket, will create an instant, lively transformation. And if you have an old bicycle with scratched up paint? You could turn it into a "zebra bike", "tiger bike", or "bumble bee bike" by wrapping appropriately coloured electrical tape around the frame to create stripes.

Of course, with an older bicycle there is also the option of using paint. You could trylug outlining, hand-painting small panels, or even paintingyour own designs along the entire frame. In Europe I see bicycles hand-painted with flowers, polka-dots, zebra stripes, peace symbols, lady bugs, and all sorts of other simple motifs.A paint pen for lug outlining will set you back around $2. Enamel paint will cost around $6 for a small can.
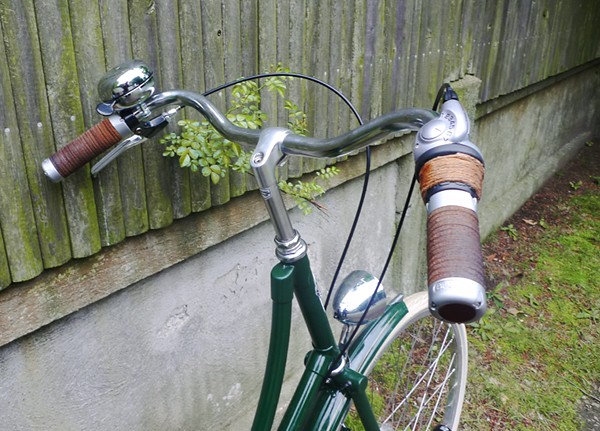
3. Avoid formulaic accessorising. If you saw it in a magazine or on a popular blog, chances are that so did hundreds of others. Do you really want to spend all that money on limited edition saddles, deluxe grips and exotic tires, just to end up with a bicycle that looks identical to lots of other bikes? Take the time to consider what combination of things would suit
you individually, rather than trying to recreate a popular look.
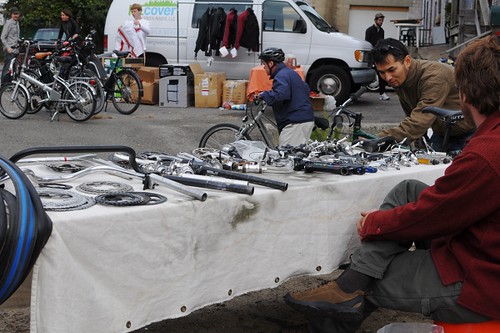 [image via Boston Retrowheelmen]
4. Explore ways to trade and barter with other bicycle owners. The components you no longer want might be just what another person is looking for, and vice-versa. This is considerably more affordable than buying everything new, and can yield interesting results. I acquired some of my best stuff via trades, including saddles, dress guards, a rack, and even an entire bicycle!
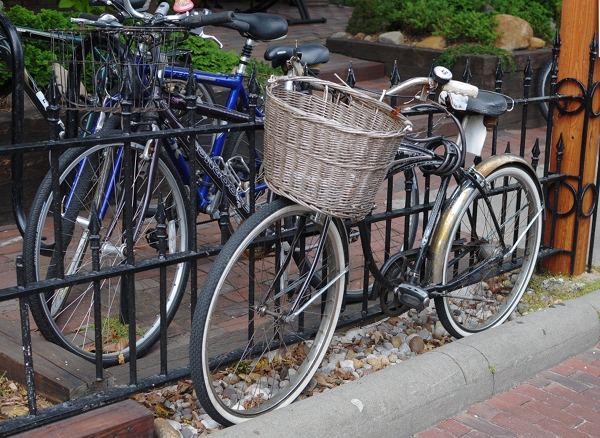
In the end, the bicycles that are the most striking and feel the most "yours" are those that reflect your personality - regardless of the budget that went into achieving that.


 My great-grand nephew Valen and his mother Jasmine. Thanksgiving Day.
 Dave said "I am smiling!"
 Thanks Denise, for giving up one of your days off and spending it with me! I've enjoyed my visit and it was great to see you both again.
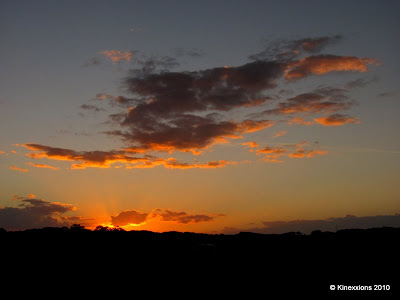 Sunset at Anastasia Island, Saint Augustine, Florida. November 30, ...

 When getting a bicycle, whether new or vintage, it can be nice to personalise it - to make alterations here and there, so that the bike feels distinctly "ours". I am often asked for advice regarding various aspects of this process, from budget, to component choices, to colour coordination. And while these things are highly personal, there are several general points that I propose keeping in mind.
 1. Address functionality and comfort before looks. Prior to buying colourful panniers and covering the bike with flower garlands, make sure the saddle position and handlebar height are properly adjusted for your proportions and postural preference. You may be surprised how much just that factor alone can change the "personality" of the bicycle. And this, in turn, will better inform subsequent aesthetic choices.
 2. Personalising the looks of your bicycle need not involve buying lots of costly accessories. Some of the most delightful decorations are also the least expensive. Consider that things like ribbon,faux florals,twine, and stickers can cost mere pocket change. A simple bow in your favourite colour on the handlebars, or some flowers along the edge of your basket, will create an instant, lively transformation. And if you have an old bicycle with scratched up paint? You could turn it into a "zebra bike", "tiger bike", or "bumble bee bike" by wrapping appropriately coloured electrical tape around the frame to create stripes.
 Of course, with an older bicycle there is also the option of using paint. You could trylug outlining, hand-painting small panels, or even paintingyour own designs along the entire frame. In Europe I see bicycles hand-painted with flowers, polka-dots, zebra stripes, peace symbols, lady bugs, and all sorts of other simple motifs.A paint pen for lug outlining will set you back around $2. Enamel paint will cost around $6 for a small can.
 3. Avoid formulaic accessorising. If you saw it in a magazine or on a popular blog, chances are that so did hundreds of others. Do you really want to spend all that money on limited edition saddles, deluxe grips and exotic tires, just to end up with a bicycle that looks identical to lots of other bikes? Take the time to consider what combination of things would suit you individually, rather than trying to recreate a popular look.
 In the end, the bicycles that are the most striking and feel the most "yours" are those that reflect your personality - regardless of the budget that went into achieving that.

 For those of you who have never repelled a canyon in Zion's you need to know there is more effort than just showing up and going where you want when you want. The park is very particular how many individuals are allowed to do a canyon each day. For Spry the offer 10 permits per day. There are two locations you can go to get permits. At Zion's main lodge on the south west enterance and in Cedar City. This is no simple go and get what you want. It requires you to stand in line and hope all the people that decided to get up earlier than you aren't wanting permits for the same canyon. The main office opens at 8am. I decided to leave my Kanab at 3am which would cause me to arrive at 4 in Zion's to sit and wait. my intention was to get permits for Pine Creek, a canyon I had done twice. My friend Evan had only been down one canyon and that was key hole a few weeks prior with me. Shanna and Danny this would be their first time. Pine Creek was a good starter and I knew the canyon therefore I could pay more attention to them than where I was going and each repel. Unfortunately there was a gal who showed up at midnight to be in line to acquire all 12 permits for that canyon. i didn't want Evan to have to do the same canyon again so i decided to go for Spry. I was freaked out! 1- I didn't know the approach. 2- never been down the canyon so didn't know what to expect. 3- I was taking beginners...what I quickly learned in canyoneering terms are called 'Newbs'- short of new-bees. after purchasing the permits I was given a canyoneering book from the ranger to study the approach and rout. a guy who was behind me in line...we had been talking throughout the morning...asked what I got. I told him Spry. Luke gave me a website to look up when i got home that he thought would be of great help. http://www.bluugnome.com I looked it up and quickly recognized the name and face of the webmaster for the website. Luke. it was amazing!!!! there were GPS coordinates and pictures for the entire approach, each repel and written explanations also. I was no longer nervous; in fact I felt very prepared after studying everything he offered about the canyon. Then the adventure began!
 Time Required - 5 to 7 hours
 Evan, Danny and Shanna standing at the mouth of Spry Canyon after the steep 1.5 mile assent.September 26,
  Evan being bold...first person down the
  Shanna going second. You can see the spec of Evanbelow. Shanna decided to go right ending up pengeleming back across...she was thankful for the helmet!


 free hanging


 Evan showing off is Muscles
 and his self cut fro-hawk


 Evan
Evan Shanna
 Danny
Danny