
There are many different crampon manufactures. I am not so much interested in manufacturer or style of crampon as I am in the actual boot to crampon interface, in other words the "fit" of the crampon.
If you have ever lost a crampon on technical ground you know the surprise and general helplessness that goes right along with it. That is if you live through the experience.
I've only done it once. For the sake of documentation I was attempting to show a novice climber what not to do and some how literally kicked my right crampon off. As I watched it tumble down the waterfall I too started to topple over and slide.
The only thing that caught me was the dumb luck of catching my tool's pick on his buried pick as I went buy. Thankfully his placement held and I didn't knock him off as well. Other wise? It would have been a 500'+ foot tumble and most likely death, certainly serious injury.
Humbling and just as sobering. I had soloed some difficult terrain in those same boots and crampons. To this day I am not sure if my set up was bad or just my adjustments on the straps.
I was damn lucky and it cooled my jets for soloing (or just climbing) ice for awhile.
Either way it is not something I ever want to repeat.

Not everyone will recognize the crampons in the picture. But in 1980 they were one of the models that were putting up the first of the WI6 routes. They were a rigid model by
SMC.
Chouinard's rigid design while revolutionary always had a durability/reliability issue. The earliest clip on
Salewa/
Chouinards were the crampon of choice for many of us who disdained the weight of Lowe's
Footfang. Foot Fangs were a quick glimpse into the future of crampon and not all of it was good news
imo.
Back then we used Beck neoprene coated nylon straps (also sold by
Chouinard) to hold the crampons on. Clip on crampon bindings were still new to climbing. While that turned out to be a great idea 10 years years later. (mid 1980s) I had seen two different brands of a single crampon with the early clip on binding still attached before we hit the first ice field on the
Eiger in '78. Crampons sitting in the rumble mid way up a big north face gives one a moment to pause and consider the consequences of that gear choice.
Part of the fit process on the older crampons (not Foot Fangs however) was to adjust the crampon to the sole pattern of the boot. And most importantly it seemed to me was to make the fit tight enough that you were unlikely to loose a crampon is you broke a strap or a crampon post.
The more rigid the crampon and boot interface the better the combination will climb. Actually let me go farther in that comment, the more rigid the boot sole and the more rigid the crampon the better the combination will climb on pure ice given a solid interface between the boot and crampon.
Looking at currently available equipment with 7 pairs of La Sportive boots (
Spantik,
Baruntse,
Batura, Nepal
Evo,
Trango Extreme
Evo,
Trango Ice
Evo and the Nepal
Evo GTX all size 45) and 4 different brands of crampons ( Camp, Black Diamond,
Petzl and
Grivel and 7 models) ) it is interesting the observations you can make on crampon fit and how the difference in boot construction even between models in the same brand affect that fit.

With the popularity of mixed climbing I am actually shocked at the sloppy interface between boot and crampons across the board. I don't claim to be a "M" climber but I understand how to hook a tool on rock and what it takes to climb at Hafner or on hard alpine mixed.
If you weigh in at 125 and have a size 7 foot not a lot is going to ruffle your gear if it is fit right. Hit 200# and have a size 12 foot and you can easily do things to a crampon that a 125# M12 climber has yet to dream of. An example is a front bail that turns into a shock absorber and can literally bounce off the lip of a boot. That might get anyone a little cranky. Add to a bad design,
as a way to fix, the other bad design...with bail "laces" and you go from bad to worse.
I replace the
Grivel "round" bails with something else and simply cut the additional retaining straps off the front bail of the
BDs.
On the mixed terrain pictured below I noticed more than once I was climbing on the "ring" of a
Grivel front bail. Not a comforting feeling. Just as bad I think is the large diameter wire and over size bails that
BD uses. Bails hitting rock before your crampons do is a bad thing. Yes most every boot will fit
BD crampons but precise they aren't. Of the three big manufactures only
Petzl seems to have the front bails fit squared away. But then
Petzl has the only front bails I know of that break. So may be "squared away" is a not really the right word. Crampons need to stay on the boot. Black Diamond has never had a breakage problem. I'll take reliability first, thank you! Everything is a trade off. And that is just a quick look at the front bails!
DT photo credit to DanielH and DaveB.

To be fair the crampon manufactures are hamstrung when it comes to boot fit. What is really needed is a DIN norm for rigid soled climbing boots. Then every crampon manufacturer would know exactly what they have to design to/with. After all the hard-goods guys are only half the real product on ice/mixed. You have to clamp a crampon to a boot sole to make a usable tool. I have 7 pairs of boots, all the same size and from the same manufacture. None of them fit the crampons I own exactly the same. Imagine the nightmare the crampons manufacturers go through every season as the boot technology and sole profiles change. Is it no wonder they build on the conservative side?
I'll repeat myself. We need a rigid sole mountain boot DIN norm.
I'll let you decide what is a good front bail/crampon fit for your style of climbing and what is not. My answer was to add Petzl bails to my BD crampons for a better fit and trust in the Petzl spiel that their bails are now reliable. It is a trim set up that fits all my boots well and drops a few oz. in the process.

There is nothing easy. cheap or guaranteed in all of this. I understand that. But I also get to point out the bad designs and ask that it be done better. More of us should! Speak up!
These are just shots of the front bails. While some front bails might not be the best set up, we should also be looking at the bottom of the crampons. To be specific just what the crampon covers on the bottom of the boot. 

Most of us don't want to be climbing in "fruit boots" with no heel piece and only front pointing. It is a good direction for design to get lighter gear as long as we don't forget its real use. As important as the attachment system is and how much clearance the bails have from the boot, the real reason we use crampons is to "stick" us to ice and snow. How many points you have going down is even more important as those going forward if you want to climb with the least amount of effort on difficult terrain.

To my way of thinking the more down points the better. I'd rather have the weight and additional of traction that is the end result of skipping down points in a design. To lose weight, crampons have also lost "sole". By that I mean the crampons have lost surface area on the front half of the crampon generally. Less and less of your boot is being covered by the crampon. A quick look at the old Chouinard/Salewa rigid shows a crampon that almost perfectly covers the entire sole outline of the boot. Makes climbing on the crampon precisely, a lot easier.
More importantly we use a alpine/ice climbing crampon to "cut" steps when you want to rest from a front pointing position or help clear out a chopped ledge by kicking. How the down points are positioned and how many of them are on the crampon define how you can use your crampons to accomplish "cutting". Down points facing backward tend to skate your foot off when driving the foot forward with power to "cut" and don't allow you to kick efficiently to clear a step or a ledge.
The next selection of pictures is a grab bag of old and new crampons. Double click the photos and take a look at the difference in boot sole surface area coverage, the number and location of the down spikes and their obvious resulting traction or lack of traction.


The difference between lever lock heel bails is small but not without need for comment. Black Diamond and Grivel use a fairly large plastic lever. Both are comfortable on the back of a soft boot like the Trango Series from Sportiva. The Petzl lever? No so much. Painful in fact. Bad enough that I don't use the Petzl lever on anything but the heaviest boots. Nepal Evos and my dbl boots don't have an issue with the Petzl levers but I can't wear them on any of my Trango Series boots. It is just too painful.
Grivel and Black Diamond also use their retaining straps to give an extra safety feature by locking the levers in place with the added leverage and a tight strap. Not Petzl however. Hard to image a worse design for a crampon lever lock than what Petzl uses. Not only is the lever hard to get off when required but the retaining strap will only "retain" the crampon if you are extremely lucky and you pop a lever while climbing. The strap will not retain the lever against you boot. Take a look at the last picture in the next series. The lever down is with a TIGHT safety/retaining strap in place. Both Grivel's and Black Diamond's will retain the lever in the correct up position. It is a simple leverage issue. Petzl missed that. Black Diamond and Grivel did not. Weak......on Petzl's part. However you can fix the Petzl rear bail to be more reliable. You'll have to cut the adjustment ball on the top of the lever and then thread the safety strap through the top of the flip lever. Solves the problem but why are we required to fix it?
Easier and thankfully both Black Diamond and Grivel heel levers and locks will fit easily on the Petzl crampons. You can order up a pair from BD's customer service for a small fee and they snap right on.


With miles of ice climbing it is easy to look both backwards and forwards. The majority of pure ice lines were climbed with basic boots, ice tools and crampons. Some times I laugh at what we are using now and not in a good way. Most pure ice lines could be climbed with a club with a nail through it and hob nails.
What we have now for ice tools, boots and crampons makes ice climbing trivial in comparison to 30 years ago technology. The newest ice climbing gear is stellar in comparison so while I may sound like I am simply bitching, I am not. Ice tools are amazing these days. I am the perfect example of just how good they are. No question I am climbing harder ice now than I ever have because of the current hand tools. But boots and crampons have fallen behind the advances in ice tools. And in many ways boots and crampons have fallen behind some of the 30 year old technology! My 30 year old plastic boots and chromoly crampons will climb pure ice as good or better than anything available currently and they weight LESS!
Lucky for the manufactures that almost any crampon will work, as will almost any boot.
Call it a wake up call to the industry. And a invitation for you to join me in asking for better products. If nothing else take a critical look at your own gear and sort it out as required.
I'd like to see lighter weight boots and lighter weight crampons. Both with better over all traction all the while keeping the ability to front point with less effort. I'm not asking for much :)
To do that it is going to take a rethinking of basic designs and may be a critical look back to look forward.
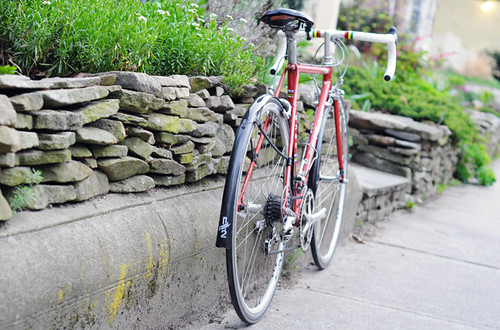
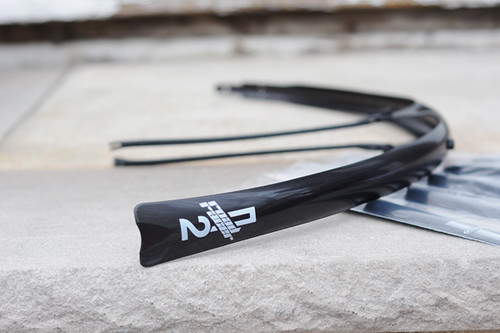
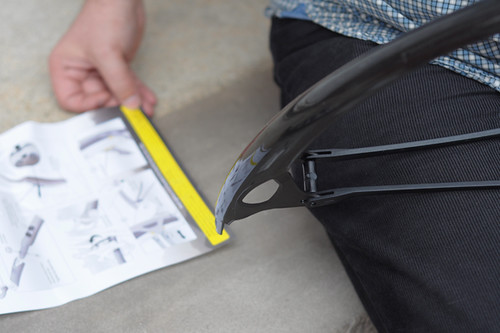

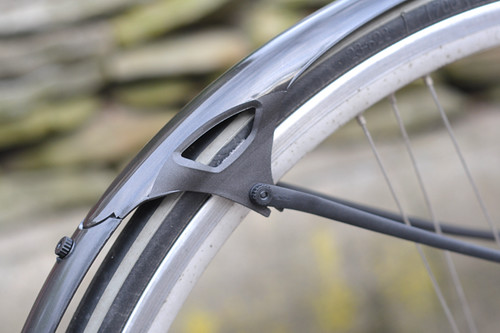
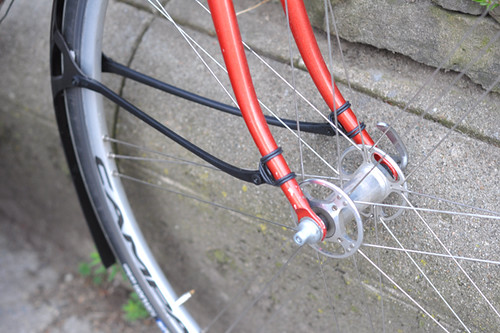
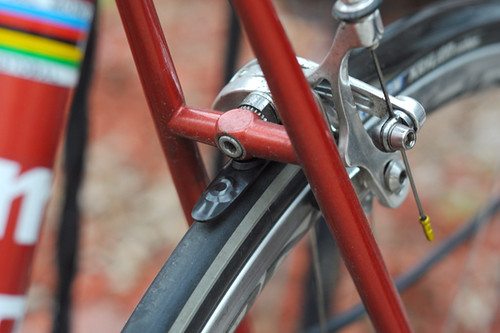
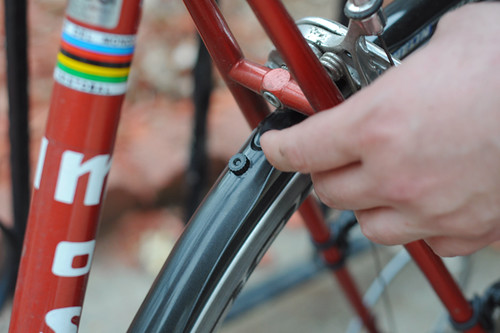
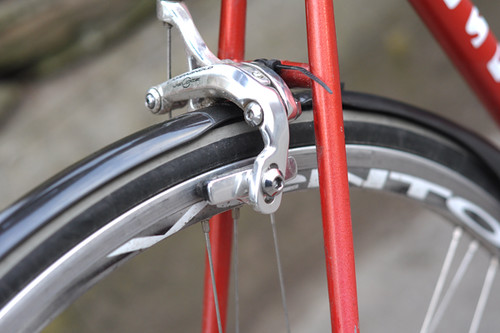





 When setting up dynamo lighting on a bicycle with no provisions for it (i.e. no internal routing or special braze-ons), there is always the question of how to route the wiring so that it looks "clean." After all, no one likes to see black wires coiled around a frame's fork and tubes. When setting up the lights on my Rivendell some time ago, the Co-Habitant and I developed a nice method that is practically invisible, and I've been meaning to share it. So when we recently did the same to my Bella Ciao, I made sure to document it.
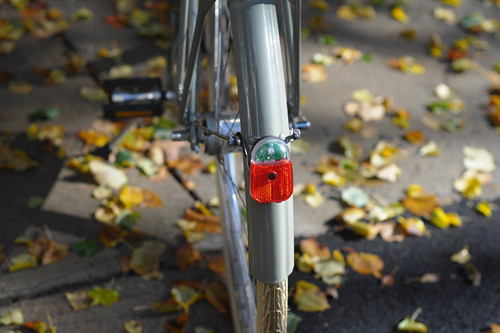 This method assumes that your bicycle is equipped with fenders, and that you are installing both a headlight and tail light. I will also assume that you already know how to connect the lights themselves; this is not meant to be an electrical tutorial.
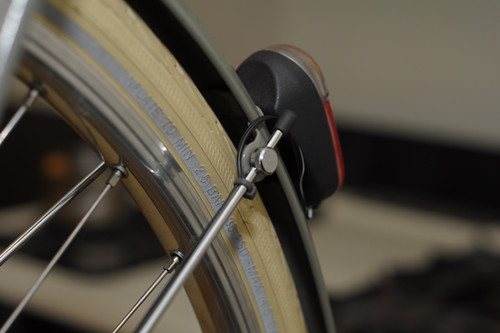 The key to our method is using as little wiring as necessary - running it in a straight line parallel to existing stays and tubes, as opposed to coiling it, and securing it with colour-matched zipties. It's a simple idea, but colour-matched zipties really do blend in with the bicycle when all is said and done. You may be surprised to learn that they are available in all sorts of colours - from bright rainbow hues, to neutrals such as clear, white, cream, taupe and gray. We use small gray zipties to route the wire from the tail light along the non-drivetrain side fender chainstay.
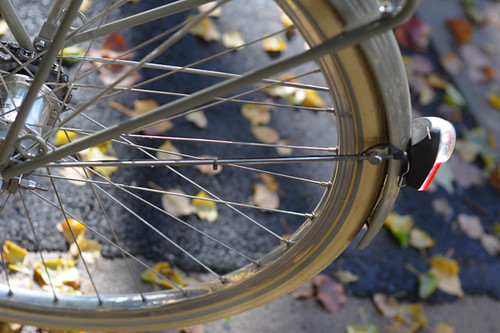 In natural light, the result looks like this.
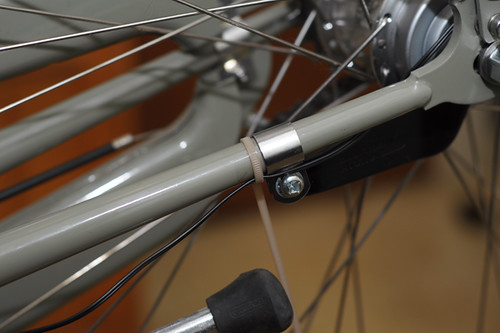 We then proceed along the non-drivetrain side chainstay, using a larger colour-matched ziptie. This frame is a sort of pale military green, and this beige ziptie blends in nicely.
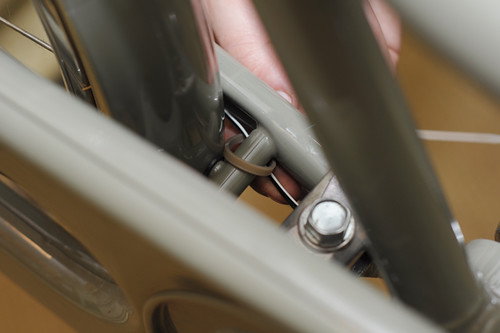 Continuing the same underneath the bottom bracket.
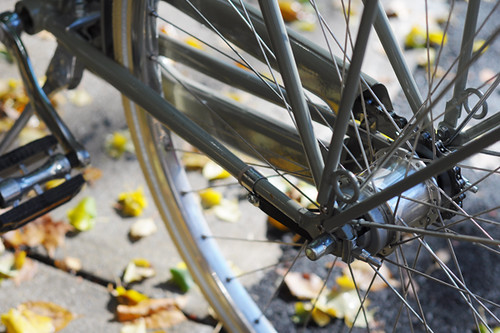 In natural light, the wiring really does "disappear" when routed in this manner, staying close to the chainstay.
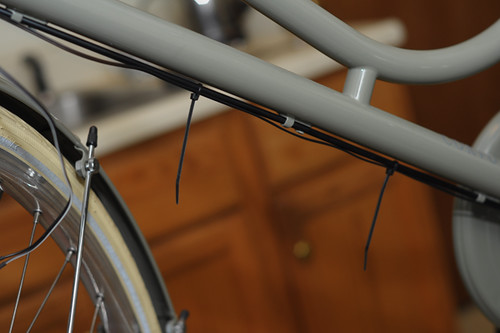 If your frame already has shifter cable braze-ons on the downtube as this one does, then you can simply attach the wiring to the shifter cable itself (small black zipties this time). Otherwise, use two large colour-matched zipties for the dwntube, like we did here.
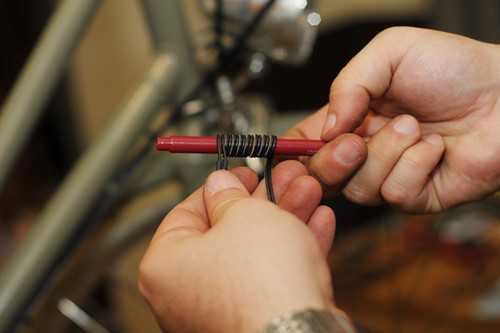 For the headlight, you will need to leave enough wire so that your ability to turn the handlebars is not constricted. We prefer to achieve this by creating a coil here. To do this, simply wrap the wire tightly around a pen or a stick.
 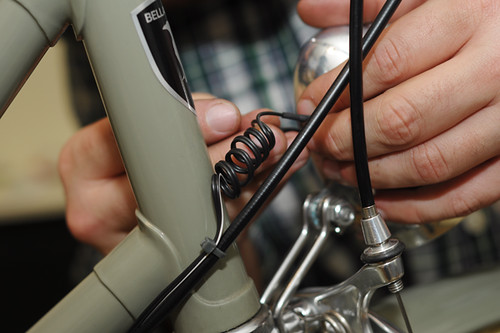 And voila, there is your coil. Notice the additional ziptie along the shifter cable, just to keep everything neatly in place.
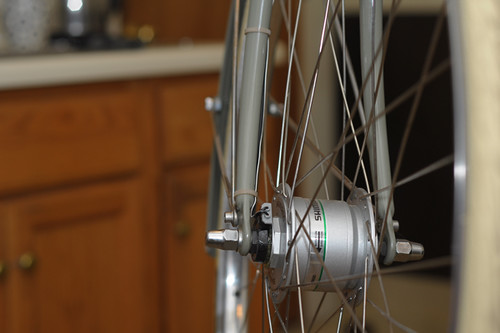 Finally, use the same colour-matched zipties along the fork as you did along the chainstays, routing the wire to the hub as tautly as possible.
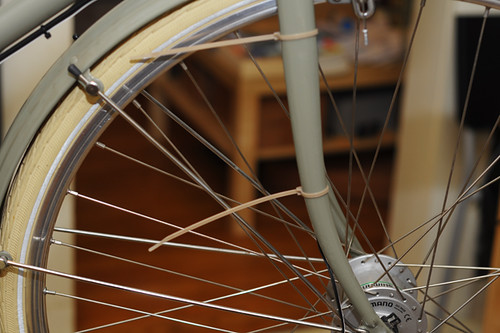 Even frames with internal routing often lack provisions for the fork, and here I find it especially important to find zipties in a colour that blends in with the paint - otherwise it can look as if the fork is cut into pieces, its elegant curvature disturbed. I am using my camera flash to show the process, but in daylight this really looks quite unobtrusive.
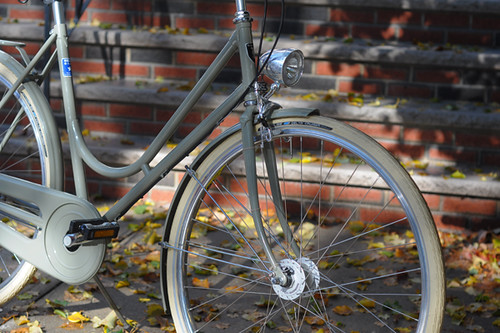 In natural light up close.
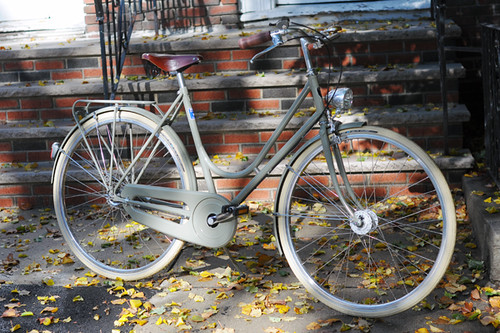 And from further away.


